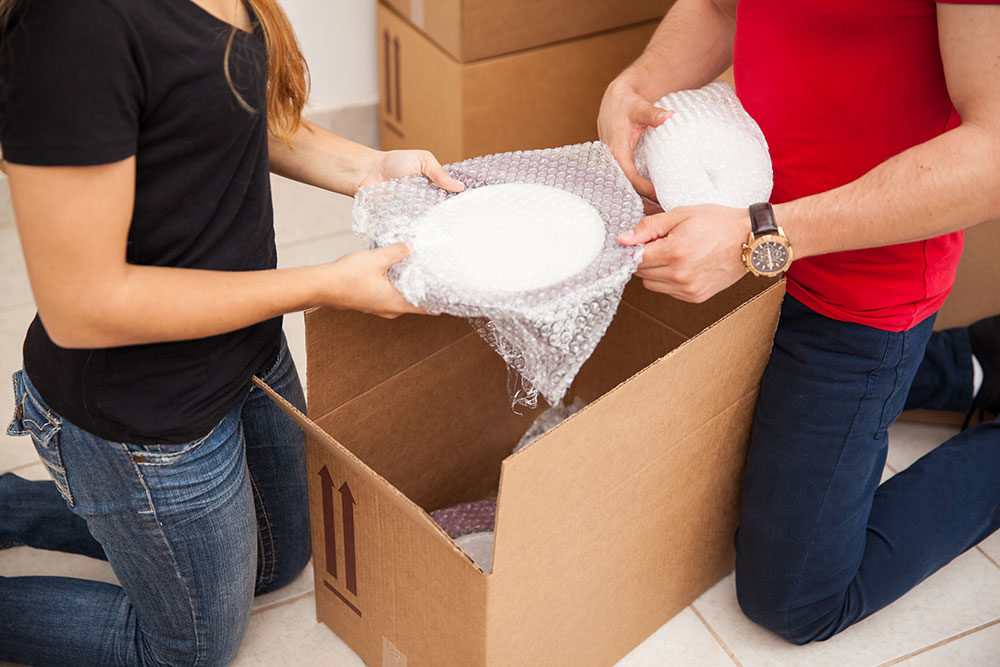
When it comes to packing for a move, the kitchen is a notoriously difficult room. Not only are there fragile items to be mindful of, but unlike the guest room, most people use their kitchens daily.
“The kitchen is always the last room that we pack up and the first room that we unpack,” says Janet Bernstein, owner of The Organizing Professionals, a Philadelphia-area company that offers moving services. “The kitchen will always take the longest. Most take at least eight hours to pack.”
The best way to tackle this moving juggernaut? With a solid plan, expert know-how, and plenty of packing paper. Here’s how to pack the room’s trickiest items like a pro.
Dishes
Many moving supply stores sell boxes specially designed for dishes. While these are ideal, they’re also more expensive. As long as you’re careful and pad generously, a basic box will work.
- First, take your dish and place it in the center of a piece of packing paper; pull the corners of the paper over the plate to securely wrap it.
- Repeat this process with three more plates of the same size.
- Stack your four plates together, turn the stack upside down on another sheet of packing paper, and rewrap the entire bundle, sealing it with tape.
- Place the bundle in a small box, standing dishes up vertically on a thick layer of packing paper. (Dishes are more likely to break when packed flat.) Add additional bundles until the box is packed snugly.
- Stuff the top and all four sides with more packing paper, then tape shut. Label boxes “Fragile, This Side Up.”
- Use this same process for bowls of similar sizes.
Cups, Glasses, and Stemware
- First, gently stuff cups and glasses with wadded-up packing paper and then wrap stems and handles with paper, crumpling slightly to create padding, and wrap each entire piece individually in paper.
- In a box lined with packing paper, pack cups, glasses, and stemware in an upright position, cushioning them well with crumpled paper rather than laying them down.
- If your box contains glassware of uniform size, you can stack carefully, making sure to fill all vacant space with crumpled packing paper.
- Label boxes “Fragile, This Side Up.”
- For especially fragile stemware, consider double-boxing.
- After you pack the box, place it in another larger box that’s padded with packing paper on all sides. (This is also a useful technique when mailing fragile items.)
Other Kitchen Items
Prior to wrapping individually, wrap the handles of large objects, such as pitchers, with packing paper.
Teapot
- To wrap a teapot, wind rolled-up paper around the handle, then additional paper around the spout.
- Place the teapot upside down in the bottom corner of a stack of packing paper, and fold a few sheets over it until you have a bundle; secure it with tape.
- Wrap the teapot lid separately from the pot, put both together in the same box (the teapot should remain upside down in the box).
Knives
- Wrap knives individually in paper, then in bubble wrap. (Or wrap them in protective sleeves designed specifically for knives.)
- Label the bundles so you’re mindful of the sharp edges when you unpack.
Pots and Pans
- Pack pots and pans of graduated sizes in nesting groups.
- Place two or three sheets of packing paper in a large pan, insert a smaller pan, and line that one with more packing paper.
- Insert an even smaller pan, and so on.
- Place nested pans upside down on packing paper, and wrap with at least three more sheets of packing paper.
- Seal the bundle with a piece of tape before placing in a box lined with packing paper.


